How To Add Custom Fonts To Your WordPress Website
So you want to install custom fonts to your theme? It’s easy. Here are various methods using free Google Fonts followed by detailed information on how to install yourself using Option 1. These methods can apply to most cloud-based font archives.
Option 1. Install the code yourself in the header.php and style.css (See instructions below.)
Option 2. Install a plug-in such as Fonts Plugin | Google Fonts Typography (by Fonts Plugin).
Option 3. Utilize a built-in font manager (many 3rd-party WordPress themes already have this option).
Instructions
Option 1. Install the code yourself in the header.php and style.css files.
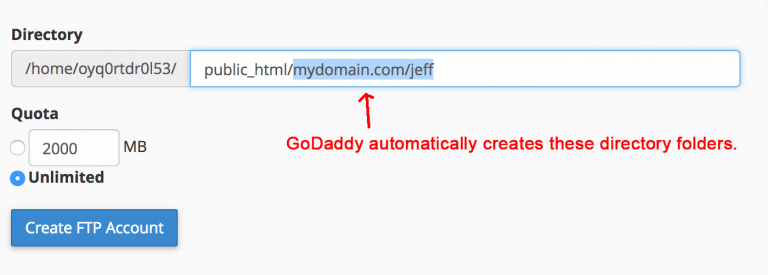
This assumes you know how to edit your theme files using the Theme Editor, Text Editor & FTP, or File Manager in cPanel. You can add the code needed to install fonts using the <link> tag and css. (NOTE: Always make a backup first of any files you are modifying!)
Go to fonts.google.com
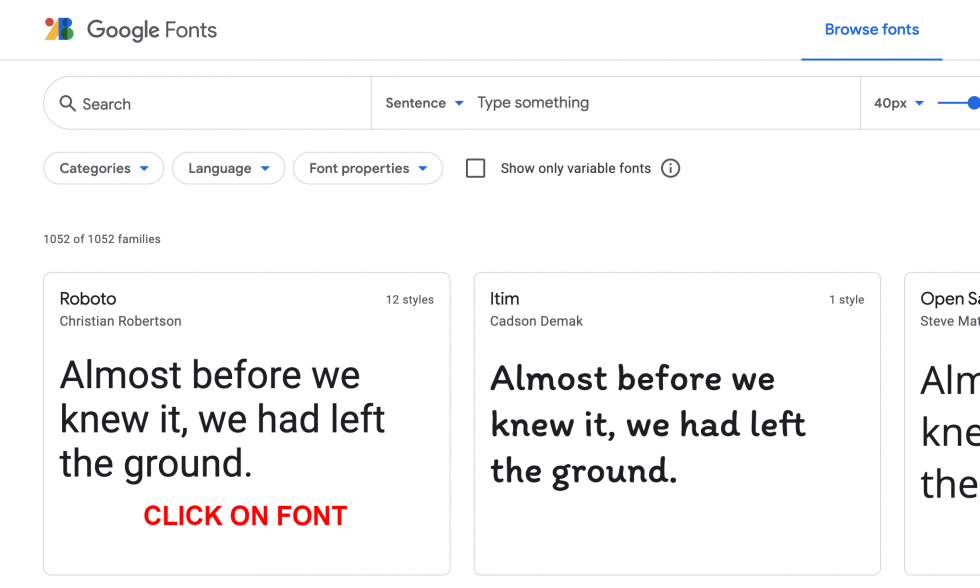
Choose a font you like:
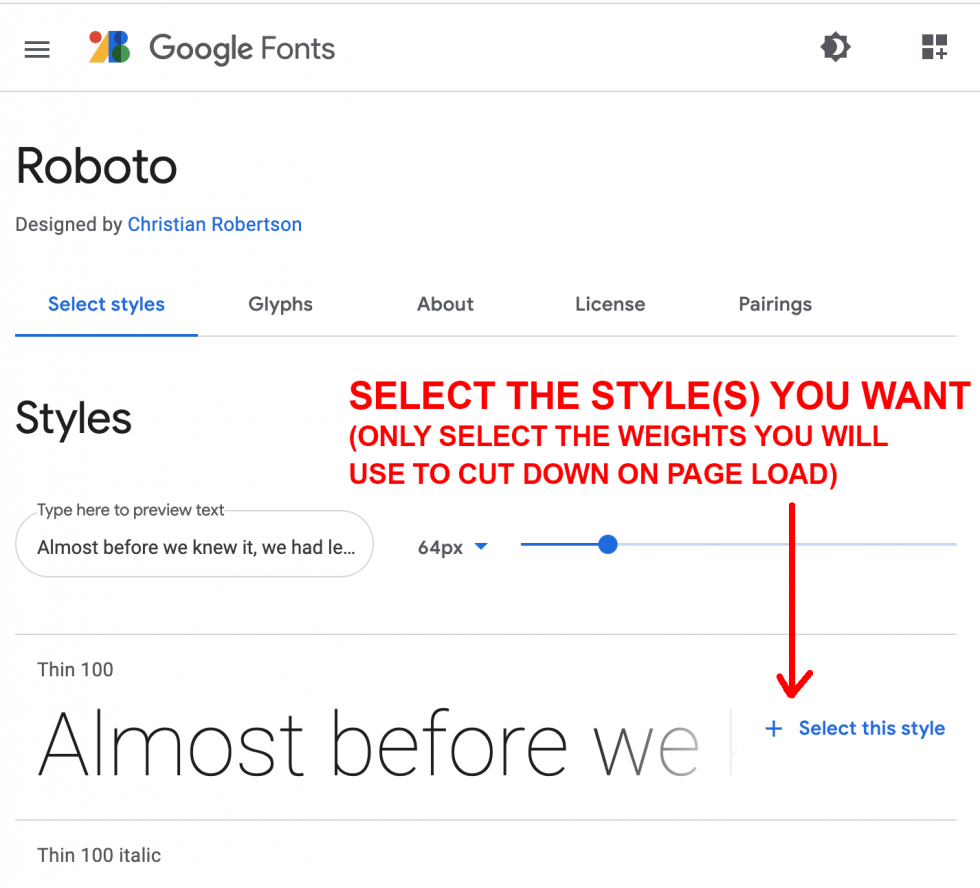
Pick the weights (only the weights you will use)
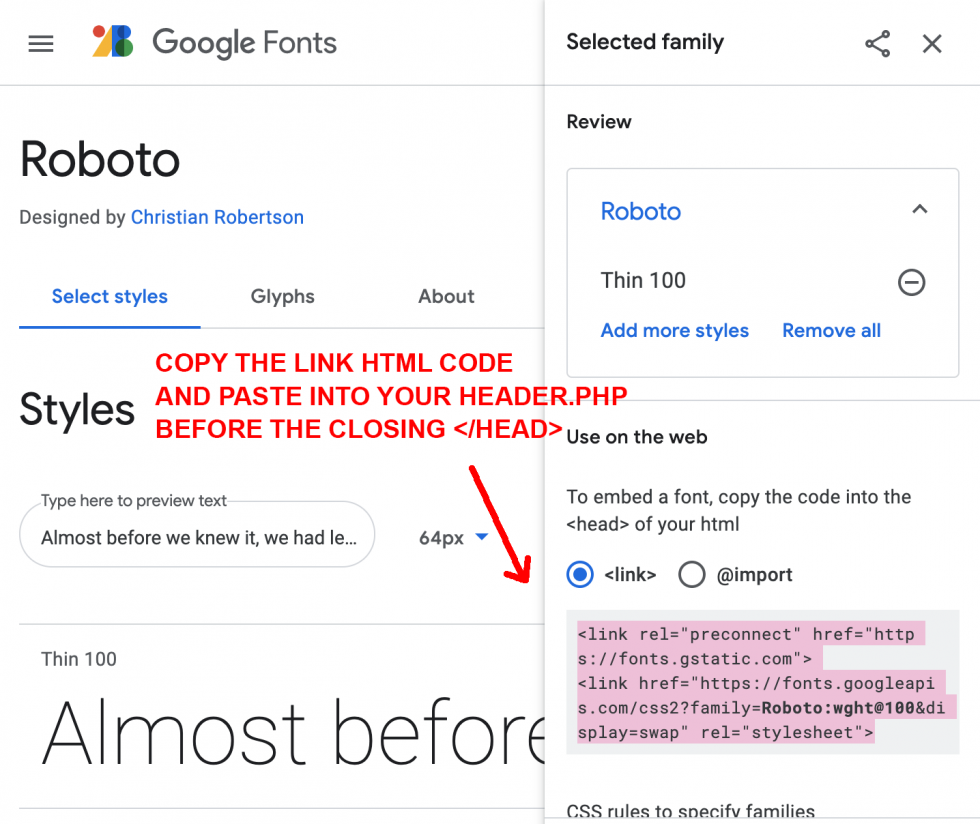
Copy the link code. This will go in your header.php file before the closing tag. You could place it near any other link code. This code pulls the font files from the Google Font server and into your website page.
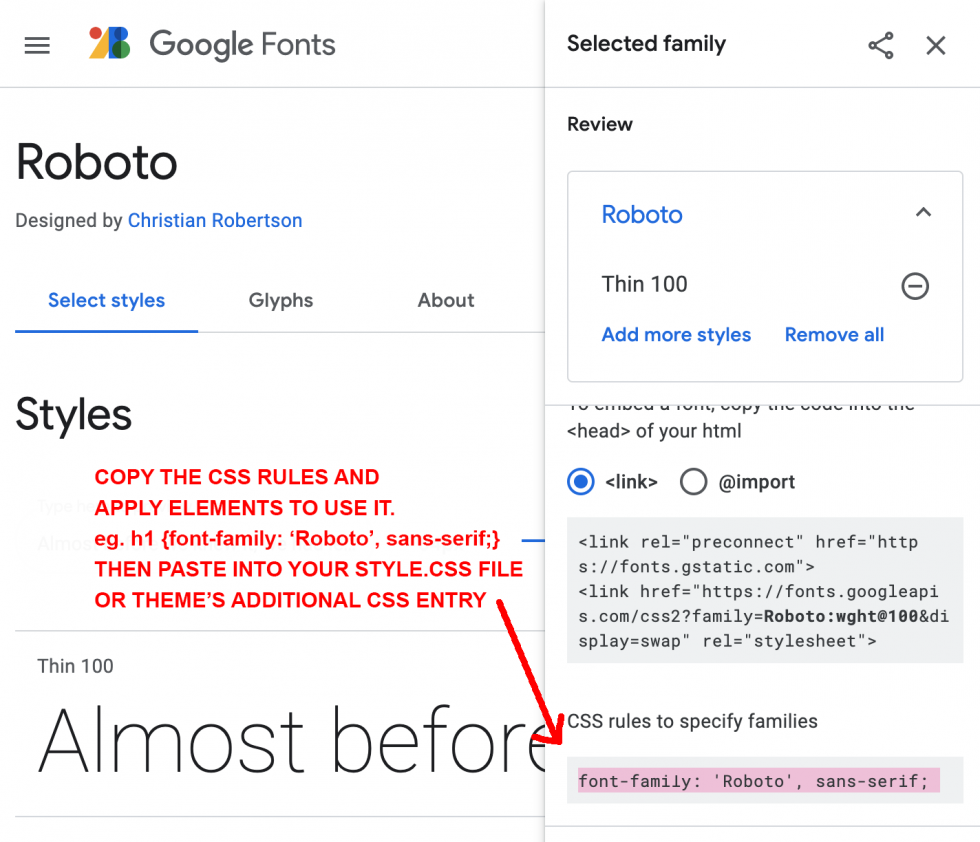
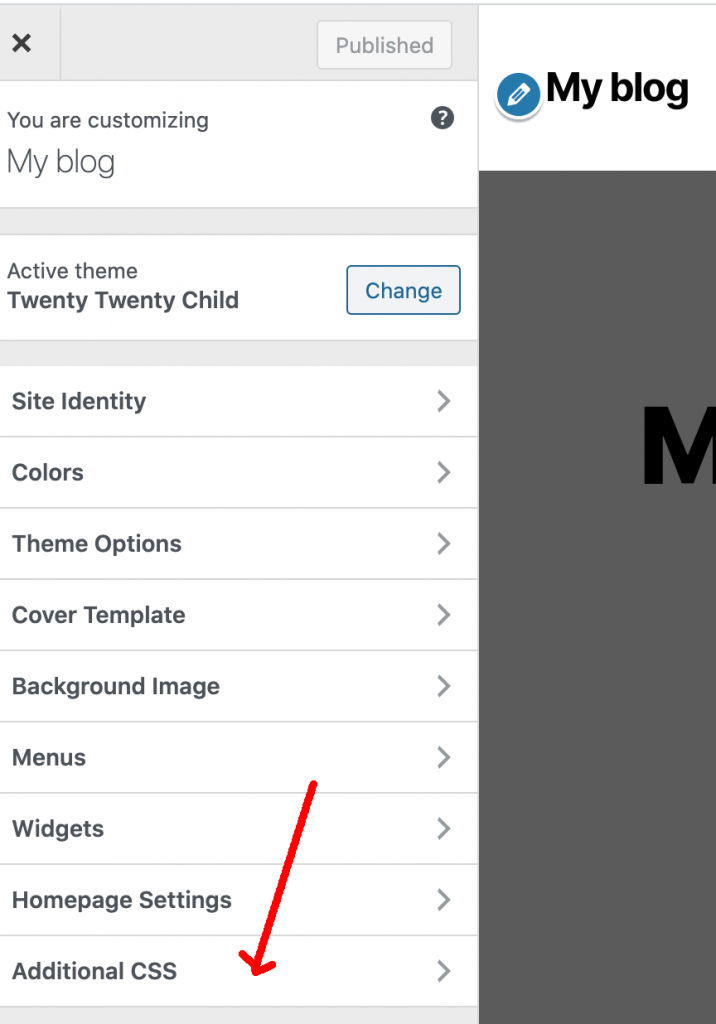
Copy the css code. This will go into your style.css file (If you are using a child theme you should put it into there. Or, into your theme’s Customize > Additional CSS field. This is where you apply the font to your elements such as p, h1-6, classes, or ids.
OR
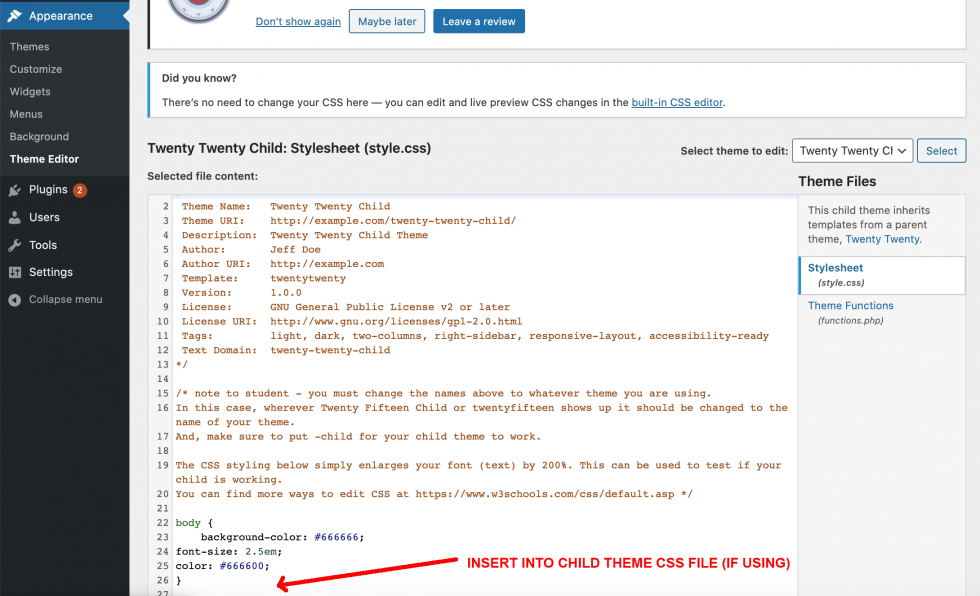
Now, upload your files or Update your WordPress Theme Editor page and Customize > Additional CSS option (always be sure to make a backup first!).
Be sure to test an element on your page using the same selectors you styled. For example, in the css above the h1 is styled with Roboto.
Article updated. Original publish date May 3, 2021.